IVF and The IVF Process
Depending on your treatment plan, your fertility specialist may recommend that you start medication or injections before the first day of your cycle. Rest assured - we’ll let you know the plan well in advance.
What is IVF?
In vitro fertilisation (IVF) is a treatment option used when conception is difficult due to factors such as low sperm quality, blocked fallopian tubes, ovulation issues, endometriosis, age-related fertility decline, or unexplained infertility. IVF is a fertility treatment where an egg and sperm are combined outside the body in a laboratory, allowing the fertilised embryo to develop before being transferred to the uterus to increase the likelihood of pregnancy. IVF works by supporting several steps of the natural reproductive process, including egg development, sperm preparation, and embryo growth.
An introduction to IVF
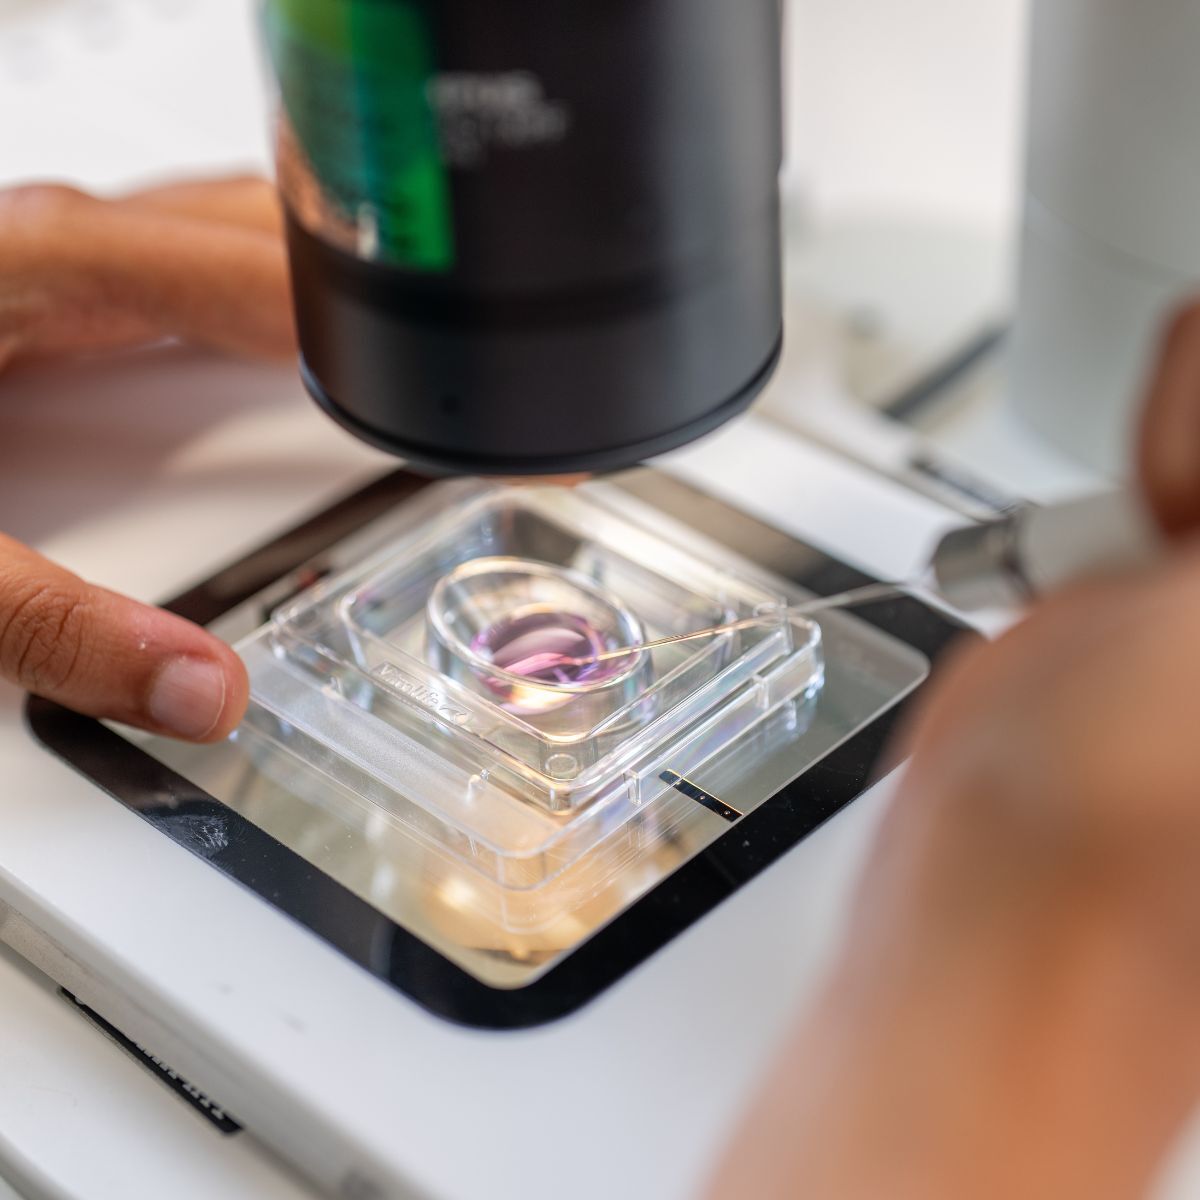
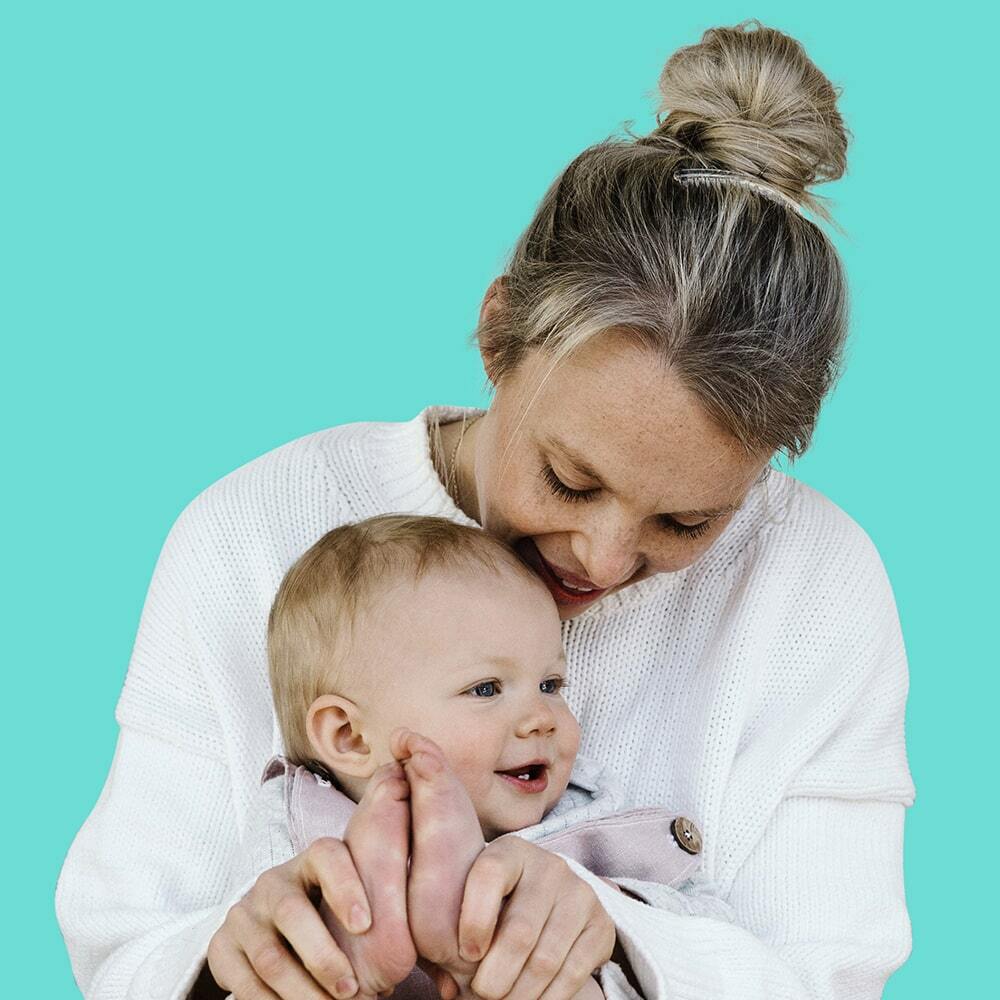
Simply put, the IVF process takes eggs and sperm and combines them in a culture dish in a lab. If the natural process occurs and they fertilise, an embryo will form. We take the tiny embryo (0.2 mm) and insert it into the uterus. If it grows and develops, you’ll take your baby home nine months later.
So, how do we get there?
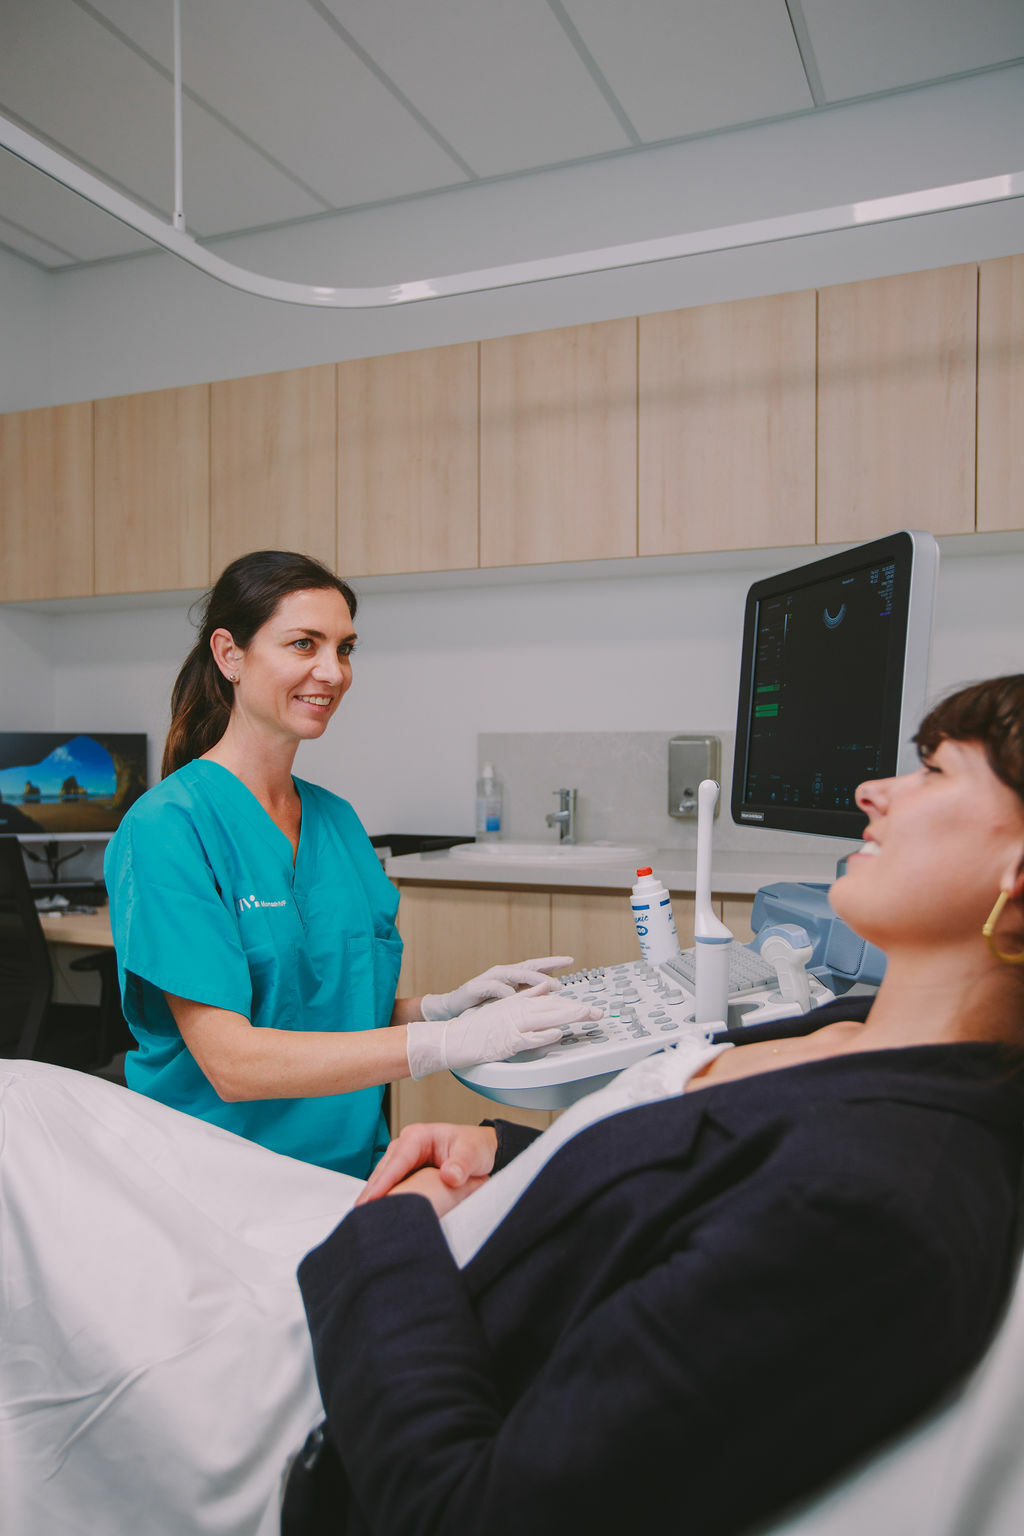
- We stimulate your ovaries to help your body produce eggs it has created naturally. This involves a series of injections or medications. They’re easy to manage; our friendly nurses will walk you through the process and we have additional resources to guide you at home.
- We remove those eggs in a simple day procedure called the egg collection or egg retrieval with our experienced Monash IVF Clinicians.
- Your partner provides our laboratory with a sample of sperm, or we prepare the donor sample in the laboratory. The laboratory will prepare the samples to collect the most viable sperm from the sample for combining with your eggs.
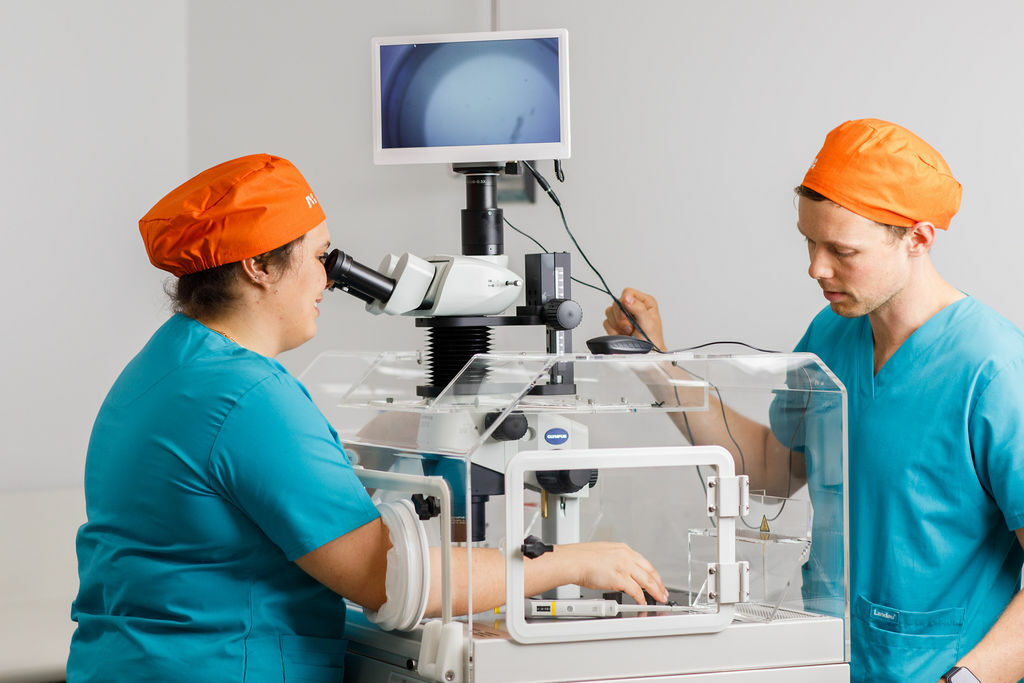
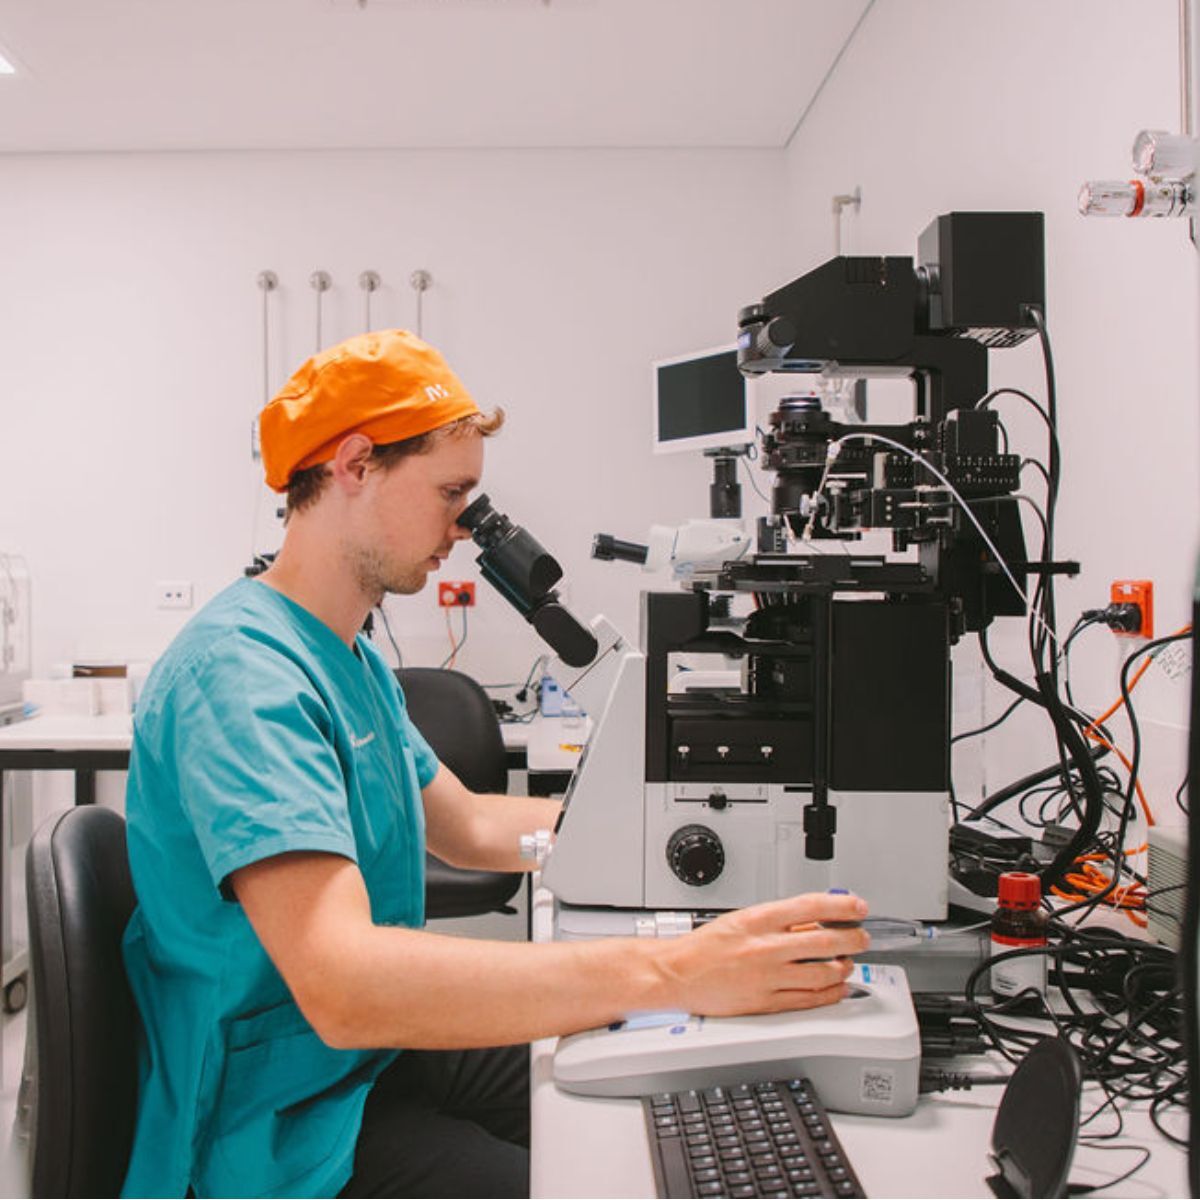
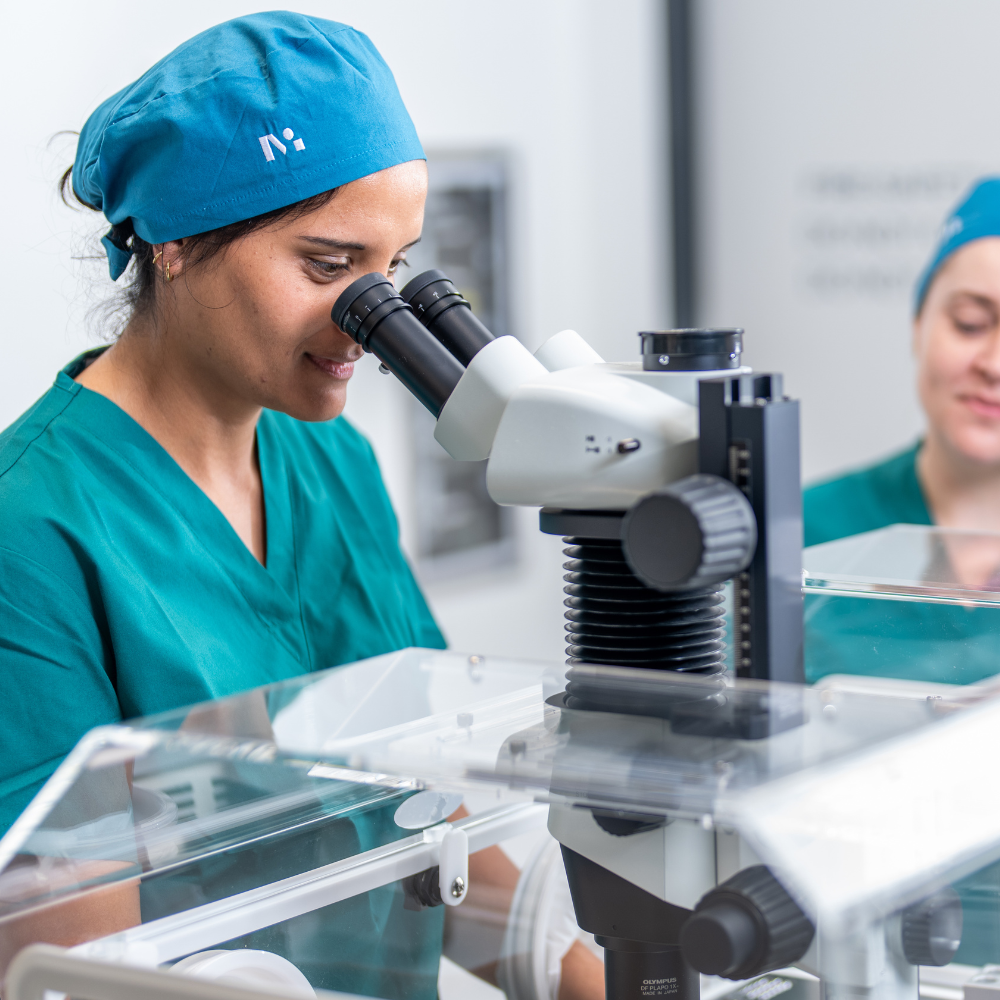
- Our expert scientists combine and culture the eggs and sperm in our lab. Our goal is to create as many embryos as possible—the more embryos you have, the greater the chance of some being viable for use
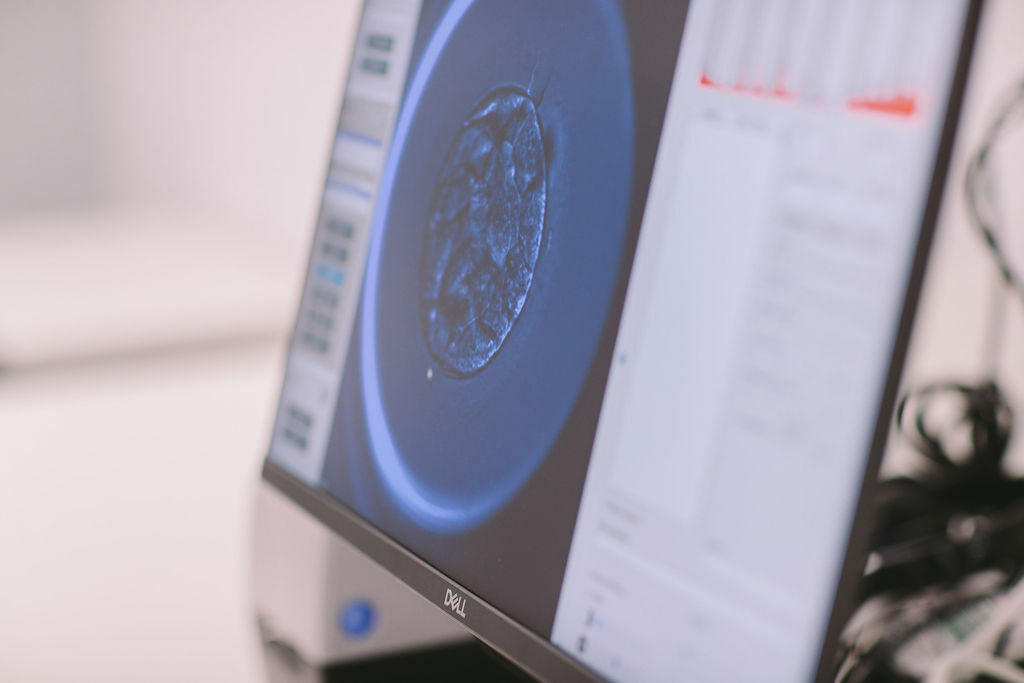
- If the eggs fertilise, they become embryos and we’ll grow them for five days to the blastocyst stage. At this point, you’ll come back in to have the embryo/s transferred into your uterus.
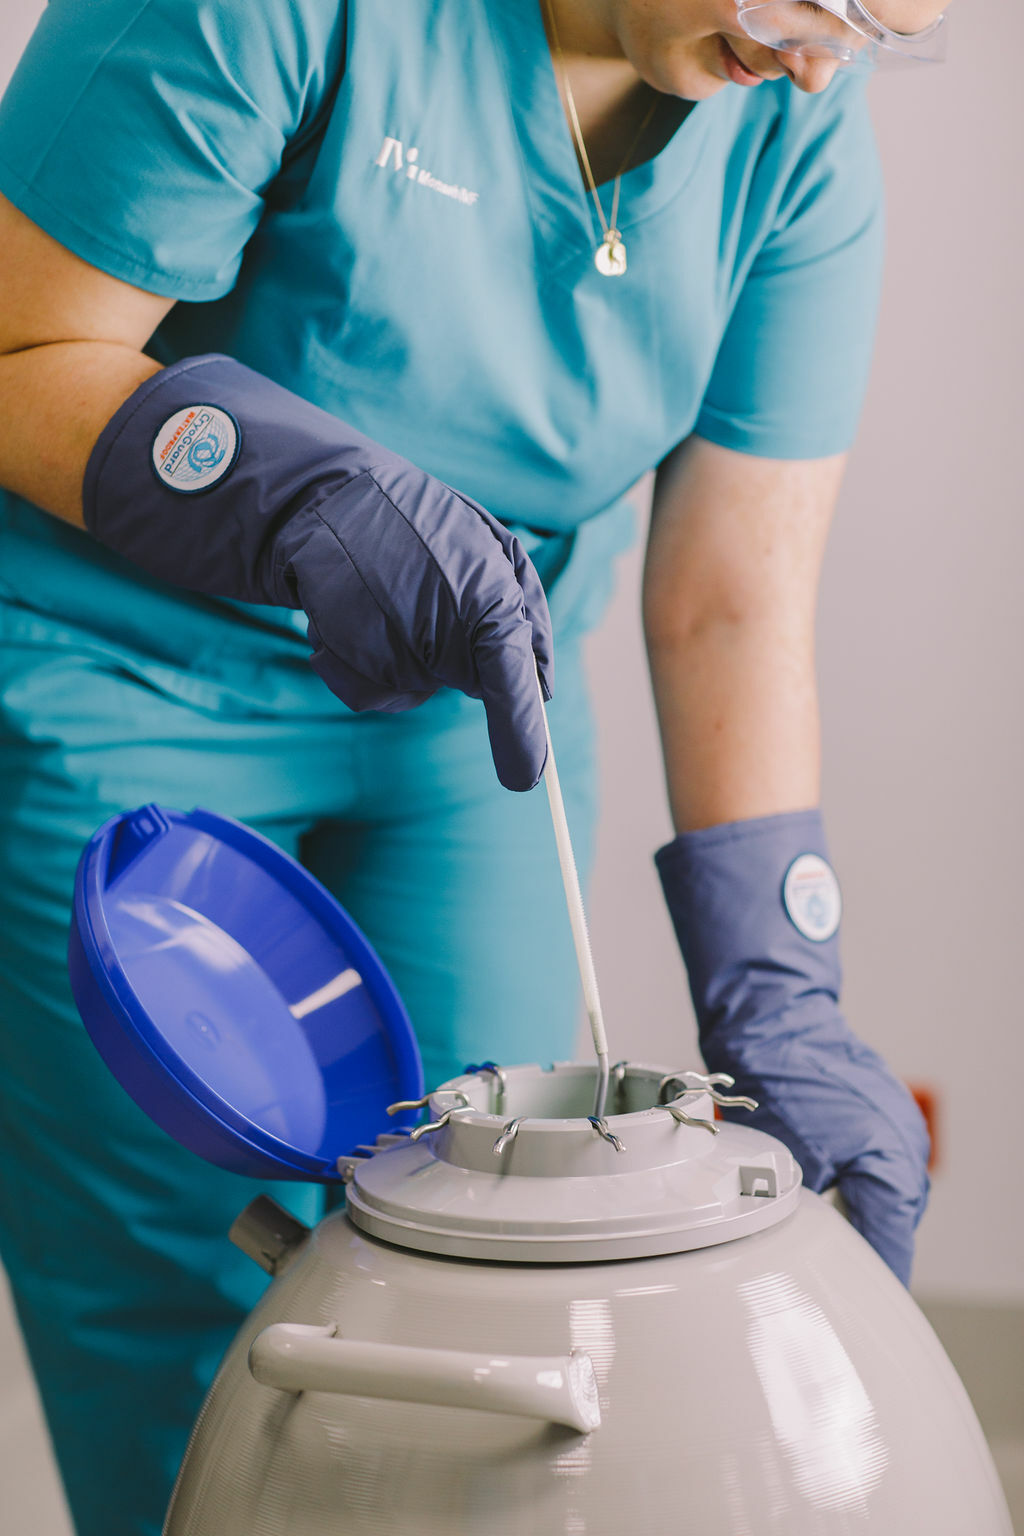
- If you have additional embryos considered to be viable, we will freeze them for you to use in another cycle if needed.
- You’ll have a two-week wait while we see if the embryo ‘takes’. It’s best to keep busy during this time if you can. Our counsellors are here for you if you need to talk.
- At this time we will get you to do a blood test to see if you’re pregnant.
Please remember, our approachable team are here for you throughout your treatment. They make sure you understand each step of the process, and that you have the information and support you need.
Did you know that the hormones in the most common IVF medications are produced naturally in the body? The eggs we’re stimulating already exist - the medication simply boosts the natural levels of these hormones to encourage more eggs to develop.


At Monash IVF, your trust and safety is our priority - every step of your treatment process is guided by the highest standards of care. If you would like to learn more about our stringent safety processes, please view our laboratory protocols for more information.
Your Safety at Every Step
Monash IVF follows strict laboratory and identity-checking protocols to protect you, your partner, and your embryos.
These include:
- Double-witnessing and electronic identity verification
- Staff training and ongoing competency assessments
- Secure chain-of-custody procedures for eggs, sperm, and embryos
- Independent audits and regulatory oversight
- Purpose-built IVF laboratories with controlled environments
How Long Does an IVF Cycle Take?
A full IVF cycle typically takes 6–8 weeks, including stimulation, egg collection, embryo development, and pregnancy testing.
Your timeline may vary depending on your treatment plan, underlying conditions, and how your ovaries respond.

What Are the Side Effects of IVF?
Most side effects are mild and temporary:
- Bloating
- Cramping
- Mood changes
- Mild breast tenderness
- Injection site discomfort
A rare but serious complication is Ovarian Hyperstimulation Syndrome (OHSS). Your clinical team will monitor you closely to reduce risk.
Will I need IVF?
That depends. Your fertility specialist will get to know your medical history and individual circumstances.
Some common reasons why they may recommend IVF include if you have:
- Blocked or damaged fallopian tubes/tubal factor/tubal ligation
- Endometriosis
- Low sperm count or motility
- Irregular ovulation
- Advanced maternal age, making it less likely to conceive naturally
- Recurring miscarriage
- Infertility relating to sperm quality or quantity
- Uterine fibroids
- Polycystic ovarian syndrome (PCOS)
- Potential genetic issues where embryo screening may help
Before IVF, many people try ovulation induction, tracking cycles, or IUI, depending on what’s most appropriate.
Our approachable team are here for you throughout your treatment. They make sure you understand each step of the process, and that you have the information and support you need.
At Monash IVF, it’s common practice to transfer one embryo at a time. We freeze remaining embryos using our advanced technology. These can be used in future treatment.
Want to know more about IVF?
Our expert fertility nurses can answer any questions you may have and offer guidance on next steps. You can book a free 15-minute nurse chat here.
IVF Success Rates
Success depends on several factors, including:
- Your age
- Egg and sperm quality
- Underlying fertility conditions
- Previous treatment history
- Embryo quality and genetic factors
How much does IVF cost?
Costs vary depending on treatment type, medications, and any additional procedures (e.g., ICSI, PGT). Learn more about Monash IVF costs below
Frequently Asked Questions about IVF

Keen to get started?
Book a consult with one of our expert fertility specialists. They’ll tailor a treatment plan specifically for you.
Is it time for a second opinion?
If you’ve recently met with another clinic or provider and you’re not entirely comfortable with the advice you’ve been given, or you simply didn’t ‘click’ with your specialist, it’s completely okay to seek a second opinion.
At Monash IVF, we believe that feeling heard, informed and supported is just as important as the treatment itself. A second opinion can give you clarity, confidence and peace of mind about your next steps.
Our team of experienced fertility specialists take the time to understand your personal circumstances and explore every option available to you. Whether you’re just starting out or you’ve already begun your fertility journey elsewhere, we’ll ensure you receive clear guidance, compassionate care and evidence-based recommendations tailored to your needs.
Because when it comes to your fertility, you deserve to feel completely confident in your care.
Next Steps
Talk to a fertility nurse
Get your questions answered and understand what your personalised pathway may look like.
Meet a fertility specialist
Discuss medical history, investigations, and a treatment plan designed for you.
Start your fertility journey
Wherever you are on your journey, one of our supportive nurse enquiry team members can help you understand your options and take the next step. These conversations are free and informative.